Showing posts with label DMTV. Show all posts

5 August 2012

Custom-Made Dream Journal

Ooh, time flies. Where does it go, I wonder? It seems I have so much to do at the moment, and by evening I've only done a fraction of it. I've had a very long vacation this summer, and I feel it's about time I got back to work. It's only a few weeks now until the first two classes I'm going to teach will start (the children's classes). Well, tomorrow's Monday again. The best day to start a new life, and to pick up old routines. I do need to get back to my routines. No more staying up all night and sleeping away half of the morning. Discipline!

Right now I'm participating in another one of Melanie Testa's online workshops at the Clever Guild: Dream journal (you can still sign up!). You can find some images of what I've done so far (not much, as usual) in my Flickr photostream. This workshop explores different techniques that you can use in your sketchbook or visual journal. And since I can't find the kind of sketchbook I want in the shop, I have custom-made my own sketchbook. A page in this book is only 15 x 15 cm (6 x 6 inches), which is a nice little format to work with if you're like me and easily get performation anxiety or fear of the Huge White Page. I can choose to work on a small single page, or on the 30 cm spread. I used smooth hot press watercolour paper (300 gsm/140 lb) for the pages, and cardboard for the covers. I covered the cardboard with my own breakdown printed fabric. Fun!


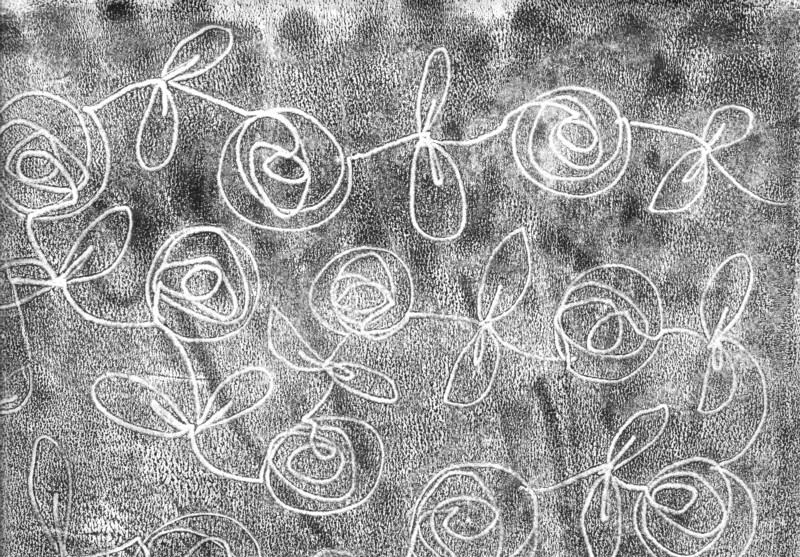
The signatures are sewn together, and the covers are also sewn onto the signatures. I used a technique I haven't tried before and which I learned from Laura Kemshall in an episode of DMTV. Before this book I've tried Japanese stab-binding, small pamphlets and the thirty minute multiple-pamphlet journal taught by Gwen Diehn in her book The Decorated Journal (follow the links for a look at the books/pamphlets in question). This binding method was both fun and easy, and here's the result;


I was a bit hesitant whether this kind of structure would work for a watercolour sketchbook, but figured that I'd just try it out to see what would happen. As you can see below, there is a gap between the signatures that can be problematic with watery paint.


However, I've decided that I'm not going to be bothered about it. If I want to lay a wash over a spread with a gap, I can always tape the gap or glue a piece of paper over it. Things are only a problem if you make them a problem.

Isn't this a beautiful binding method? I love the loops that form over the spine and the exposed signatures.


Now that I have the book, it's time to start filling it. This week's assignment for Melanie's workshop is to make 10 starts, that is to do something - anything - to 10 pages somewhere - anywhere - in the journal. Sounds like fun!

Thanks for reading, and see you again soon! - Annika

13 February 2012

Untried Thing No 3: Fabric Medium + Watersoluble Media

Here's my third and final Untried Thing for this time: combining watersoluble media with fabric medium on fabric. Again, my inspiration is Design Matters TV (DMTV), and I learned this technique from Linda Kemshall.

Combining fabric medium and watersoluble media such as e.g. watersoluble crayons and Inktense pencils can be done in different ways. In my library I also have a couple of videos where Kerr Grabowski demonstrates how to use on fabric what she calls 'fugitive media', i.e. media that wouldn't stay on fabric unless you combine them with some sort of binder. The difference between Linda's and Kerr's methods (at least in the videos I have access to) is that Kerr uses a silk screen to trap the pigments under a layer of medium, whereas Linda uses a brush. I want to try both methods, but I decided to start with Linda's. As I see it, if you draw on fabric and want to make sure that your marks stay exactly where you put them, you should use the silk screen method. However, if you want to blend colours on the fabric, you want to use the brush method. Also, with the brush method it is easy to limit the area that will be stiffened with medium to where the actual image is. With a screen the medium will also cover the areas around the image.

The technique is very straightforward. You draw an image on fabric, which has been stabilised with freezer paper, using some kind of watersoluble medium (pencils, crayons). When you're happy with the image, you apply fabric medium over it with a brush, covering the whole image and blending the colours. The medium will stiffen the fabric about as much as an ordinary fabric paint would. Here are my samples:

Inktense pencils


Neocolor II watersoluble crayons


Graphitint pencils


I haven't tried washing any of my saples yet, but I'll get to that too eventually. In Linda's tutorial she used Inktense pencils with good results.

I'm very excited about this technique as there is so much potential in it. Be still, my heart!

Thanks for visiting: I hope you too will be inspired to try this! - Annika

12 February 2012

Untried Thing No 2: Drawn Monoprints

I've wanted to try drawn monoprinting ever since I learned the technique from Laura Kemshall on Design Matters TV (DMTV) quite a while ago. I went out and got the necessary acrylic retarder but, as so often is the case, I didn't have time to try it immediately and forgot about it. When I went through my stash a few weeks ago I found two (!) different brands of acrylic retarder. Apparently I'd forgotten about the first one when I went out and got the second one. Not to worry, now I have two different brands to compare. I tried them both for my drawn monoprints.

You may be wondering what a drawn monoprint is. Well, it's a cross between a drawing and a monoprint. A monoprint is a print which you basically just pull once. Sometimes you can also get a second print, which is referred to as a ghost print. In short, to do drawn monoprints, you simply ink up a printing plate (a transparency or a sheet of Perspex/Plexiglass) with the help of a brayer or paint roller. You then float a sheet of paper or a piece of fabric on top and make marks with e.g. a skewer or pencil. The marks will transfer to the paper or fabric, along with the 'background noise' that is characteristic of this technique. The acrylic retarder is important if you want to use acrylic paint, as the paint otherwise dries too quickly for this technique. Fabric paint can be used as it is.

On paper I used Winsor & Newton acrylic retarder and Liquitex Slow-Dri blending medium with black acrylic paint and both worked well. The first brand, which was a lot thicker than the other one, gave a little drier print, whereas the Liquitex medium, which was more liquidy, gave a wetter and darker print, which seemed to work better for ghost prints. On fabric I used black fabric paint. The ghost prints I tried were more successful on paper than on fabric.

Drawn monoprint with acrylic paint and W & N acrylic retarder


Ghost print of the above print


Drawn monoprint with acrylic paint and Liquitex Slow-Dri blending medium


Drawn monoprint with fabric paint


Drawn monoprint with fabric paint


I love this technique. It's easy, perfectly addictive and gives great results. Try it!

Thanks for stopping by, and stay tuned for more Untried Things!